
Making Compost
Making compost at home is one of the most simple, rewarding things you can do to bring fertility to your gardens. There are many different styles of creating compost depending on your individual situation and needs. On our farm, we have 3 different methods for creating compost depending on the materials we have available to us and how we plan to utilize the finished mix. Below I will explain the process behind each style.
The Slow Steady Pile
This is the most common type of compost pile that I make where we live and the easiest type of pile to manage. Basically, the only process in making this pile involves collecting kitchen scraps and some kind of material that is high in carbon (Straw, Hay, Shredded Paper, etc.). We collect our kitchen scraps in a 5 gallon bucket because it makes dumping out the material and cleaning the bucket super easy. When the bucket is full we simply pour its contents onto the top of a pile inside our bin in the backyard and top the veggie scraps with a thick layer of some type of carbon such as hay or straw. You want the carbon to nitrogen level in your pile to be around 30:1, that is, 30 parts carbon to 1 part nitrogen. This ratio will help your pile to break down efficiently and minimize foul smells, while keeping your compost from becoming a slimy, soupy mess. In this slow steady process, I don’t even bother turning the pile. I will simply add ingredients gradually over time as they are produced and accumulate them for a few months until the pile is around 4 feet high and 3-4 feet across. At this point, I will top the pile with a nice layer of hay or straw and give it a few more months to decompose.
I like to think of these piles as those that most closely mimic nature. I believe there is too much unnecessary worry about bacteria and the constant need to systematically turn compost piles. Nature has been creating amazing compost without “turning” and “heating” since the beginning of time and forest systems are much more abundant than most farms! One large example I can think of involves the Salmon runs in the Northwest. Here we see the presence of millions of slow-rotting fish and yet no problems with bacteria present in the environment, while the incredible fertility boost can be measured in the growth rings of the giant trees. There are advantages to making hot compost piles, for example, when composting materials that may have large amounts of unwanted seeds present or when you need finished compost in a hurry. I would never discourage someone from taking the time to create hot piles through a refined turning process, but I would encourage you to experiment with the slow, steady process. I think you will find you can create some nice compost this way, with very little effort.
Compost Bins
I recommend making a small bin for your compost in order to discourage critters from digging in your pile. In the countryside, wild animals, such as racoons and opossums, can be prevalent in large numbers and in the city, neighborhood dogs and cats may get into your pile. Having a simple enclosure around your pile also helps your pile stay contained as the pile becomes larger over time. There are many different ways to enclose a compost pile, so be creative depending on what is available in your area. Repurposing pallets is a great idea and often old chicken wire or fencing can be found easily in the countryside if you ask around. If you choose, you can also invest in a proper compost bin. This may be a good option if you live in the city and do not have much space for your composting set up. These bins will help to contain the smell of your pile, keep out animals, while limiting any issues with flys etc.
Placing and Preparing the Space for Your Pile:
I recommend placing your pile as close and conveniently located in reference to your kitchen as possible, but far enough away from your house that you do not create a large potential for attracting mice and other animals too close to your house. Being creatures of habit, if you are new to composting, it is much easier to remember and follow through with a composting protocol if a pile is closely situated to where you will be producing kitchen scraps. I have placed compost piles in full sun and partial shade without problems. That said, if the area you choose is in full sun, be sure that you periodically check the moisture level of your pile and never let it dry out. Ideally, your site should be flat and well draining, as you never want to place your pile in a low area where standing water could collect underneath your pile. If you can place your pile in close proximity to your garden, your compost will be readily accessible where you most need it.
Once you have picked out your site, I recommend marking out your area and removing any grass or vegetation present in the area by digging it out by its roots. You could also choose to weedeat the area as low to the ground as possible and top it with a very thick layer of cardboard, up to 6 inches in depth. This way you will be sure that no grass will find its way into your compost pile. If the ground beneath your site is heavy clay and does not drain well, consider using a potato fork or other tool to aerate your soil and encourage drainage. When you have finished preparing the ground, you can begin building your bin.
Tools and Materials Needed:
For the Pile:
-A consistent supply of vegetable scraps from your kitchen and/or local grocery/restaurant
-A supply of square bales of hay or straw. Shredded paper, shavings from softwood trees, and/or any other material that has a high ratio of Carbon.
*Optional: Woody herbaceous stalks and/or a nice pile of small branches to be used as the base for your pile.
For the Bin:
-20 feet of Chicken wire or other simple garden fencing
-Four 5 ft. tall metal garden fence post
-Metal wire for attaching fencing to post
-Pliers
-Mini-sledge hammer or fence post driver
-Measuring tape or 4 ft. piece of string
-Small Flags
Or
-3 regular size shipping pallets
-4 5-6 ft. tall T-post
-4 ft. length of chicken wire or other simple garden fencing.
-2 inch exterior wood screws
-Portable electric drill
-Sledge hammer or fence post driver
Making the Bin:
The Wire Method
If you are using simple chicken wire or wire fencing and post for your bin, start by marking out the outline of your bin. You can do this using a measuring tape or 4 foot piece of string and small flags. Starting at the closest corner on the left hand side, place a flag in the ground and measure away from you 4 feet to where you want the furthest post on the left side to be. Place another flag at this corner. Now measure, at a 90 degree angle, 4 feet to the right and place another flag here for the back right corner. Again, at 90 degrees, measure 4 feet towards you from this flag to find the placement for your front right post. Place a small flag here. Once your flags have been placed in the ground, look at them and be sure that your square is balanced and in the position where you want your bin to be. Now, using a mini sledge hammer or post driver, remove your flags and drive in your post one by one until all four are securely hammered into the ground.
The Turning Method
The method of creating compost through the process of turning and heating is the most popular, common method you will find. This method requires more attention to detail, as well as larger amounts of raw materials in the beginning. In order to create a pile that will properly heat up, you need to have a minimum amount of nitrogen-rich material, or your pile will not be able to generate the
Vermicompost
Vermicompost is excellent quality compost, created through the formation of a symbiotic relationship with worms. With this method, worms become the main workers within the system, devouring vegetable scraps and converting them into rich, black, worm castings. Once established, this type of composting is extremely easy to maintain, requiring little maintenance beyond the weekly addition of more food for the worms and the harvesting of finished worm castings when all the food is devoured. This type of compost is my favorite for blending with coco-coir, perlite and vermiculite in order to create soil for seed starting. I avoid putting any type of seeds in my worm bins because there are a few that worms do not eat, such as tomatoes and pepper seeds. This way, I can be sure the finished worm castings I produce will be as clean as possible and free of any unwanted seeds.
Materials Needed:
-Worm Bin (I recommend purchasing a pre-made bin such as Vermi-Hut Plus
-1 Pound of Red Wiggler Worms
-Nitrogen-rich worm food such as clean vegetable and fruit kitchen scraps (I prefer to avoid putting seeds in my worm food).
-Carbon-rich materials such as: Shredded Paper or Cardboard, Straw, Hay, wood shavings from softwood trees, non-waxy shredded leaves.
-Plastic bottles if you want to collect worm poop juice
Harvesting Compost
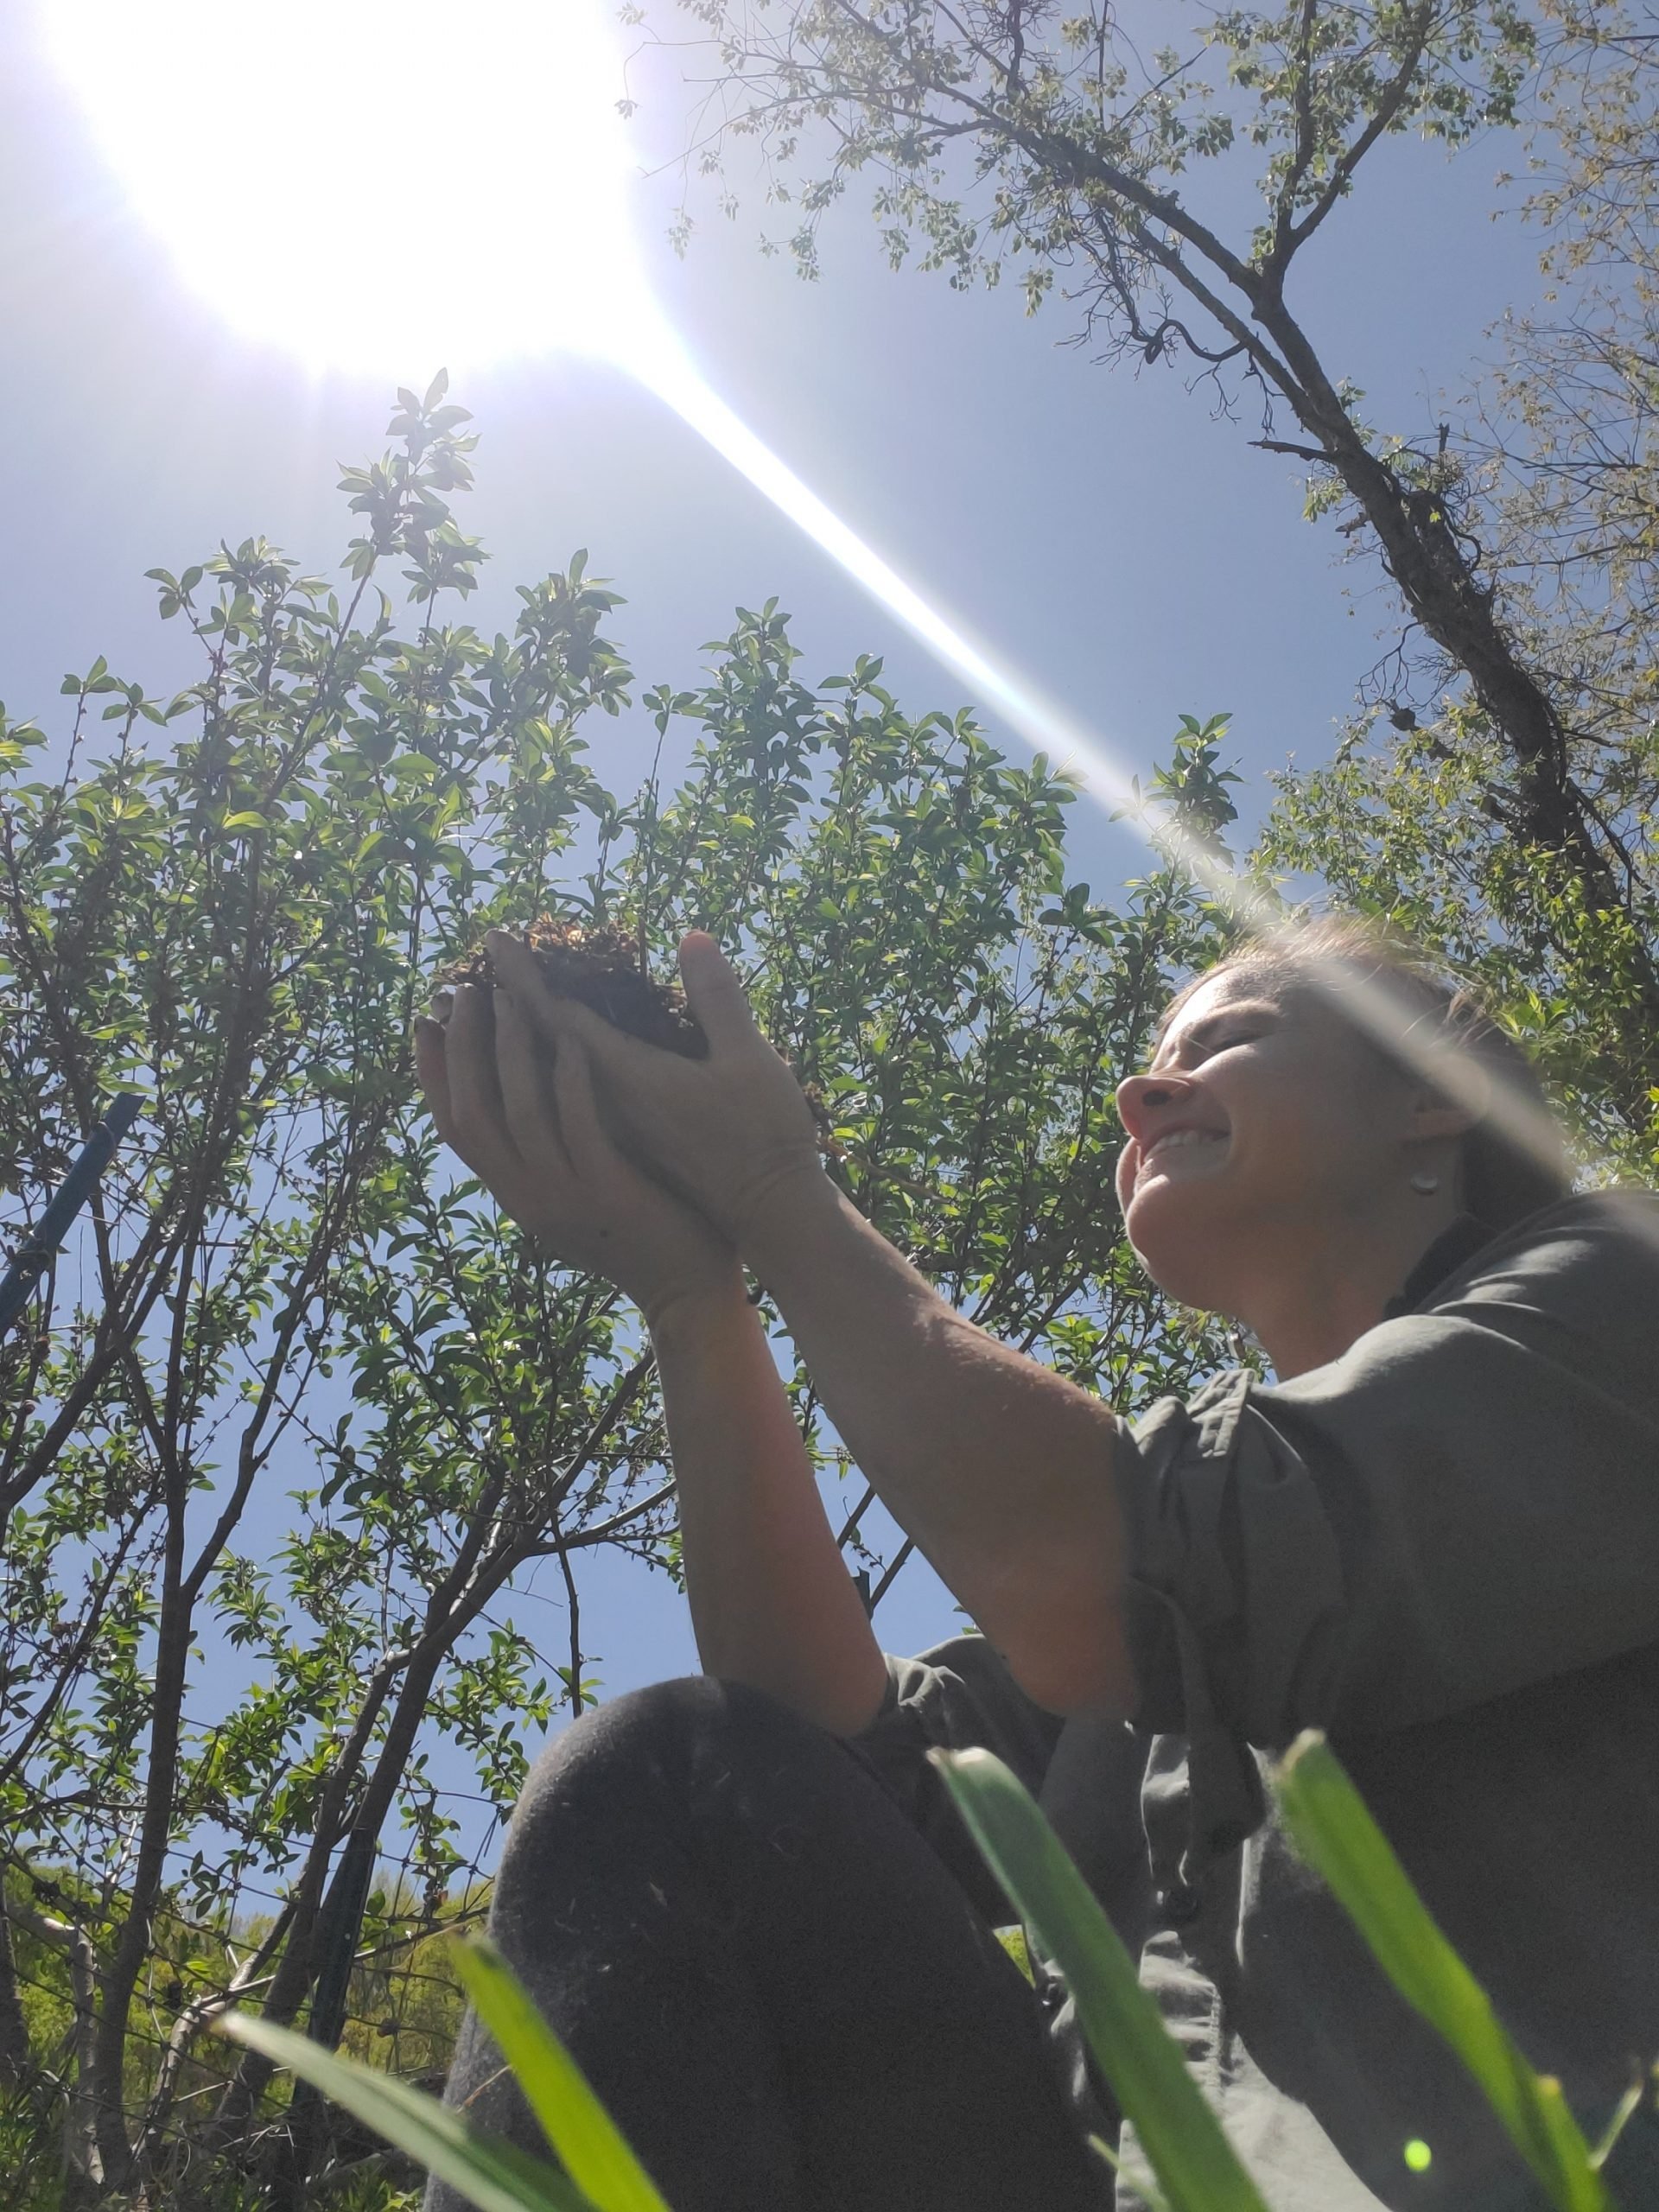
Early Spring is my favorite time to dig into my compost piles and harvest from their richness. In our simple home composting set-up, I use a two bay system where one side is actively receiving new kitchen scraps daily, while the other side, once full, is given time to break down into beautiful black gold. Early Spring is the time I dig into the side that has been sitting through the winter, in preparation for using compost in transplant mixes and in the planting holes I will make in my garden beds. Creating this incredibly valuable resource is both easy and satisfying at the same time, and you can create much higher quality mixes at home than what is available at most retail stores. Commercial compost is often subjected to extreme heating, grinding, and sifting, a process that often destroys most of the beneficial microbial life that would otherwise be present in nice quality compost.
Harvesting compost is an extremely simple process and requires only a few tools. My favorite way to harvest small batches of compost includes a normal shovel, a screen for gentle sifting, a wheelbarrow and a thick-walled plastic tote with holes drilled in it, or a breathable bag for storage. I enjoy using a metal screen with ½ inch squares for sifting my compost initially. This will remove most larger objects such as avocado pits and other tough debris that may have not completely broken down in the pile. At this point I will either store the sifted compost in a bag or tote, or further screen the compost through a ¼ inch size metal screen. This finer compost I will use in seed beds, or for adding to seed starting mixes. If you plan to roughly add compost and dig it directly into a garden bed, or add it to planting holes that don’t necessarily require a need for finer grade compost, you can even skip the sifting step altogether. Often, I will simply scoop the compost into a wheelbarrow and dig through it with a shovel and my hands a bit, removing any obvious larger debris and/or any plastic that may have accidentally made its way into my pile from the kitchen. At this point I will either cart it towards my gardens for immediate use, or store it in a bag or tote in a cool place out of the rain until I need it.
If you want to learn more about growing your own food or medicine with regenerative No-Till methods, visit our virtual self paced school HERE
Blog written by Chris Ripley of Wise Earth Way

I am a Plant Extrovert, Farmer, Herbalist, Teacher, Wild Wombyn, Mother and Daughter.