The word, Oxymel, is derived from Ancient Greek and translates to “acid and honey.” One of the most well known Greek Physicians, Hippocrates, was fond of working with Oxymels. These acid and honey herbal preparations were used to relieve obstruction in the respiratory and digestive tract, as well as to tonify and support the body during periods of stress.
In its simplest form, Oxymels are like a sour syrup. When added to water, they taste like a rehydration sports drink. When added to carbonated water and served over ice, they are a healthy alternative to soft drinks. The popular immune boosting formula, Fire Cider, is a well known type of Oxymel. They are alcohol free and generally loved by most people.
How to Make an Oxymel:
Folk Method Formula
Ingredients
- Plant material, fresh or dried
- Try using fresh plant material such as Goldenrod, Mullein leaf, Garlic, Lemon Balm, Yarrow, Echinacea, Cleavers, Dandelion leaf, Turmeric, Rose Hips, Violet, and Chickweed are some of my favorites for Oxymels
- You can use multiple herbs together
- Raw Apple Cider Vinegar
- Honey (Wildflower taste great)
Materials
- Mason jar
- Muslin or cheesecloth
- Labels
- Amber dosage bottles
- Small funnel
- Large bowl
- Liquid measuring cup
Directions
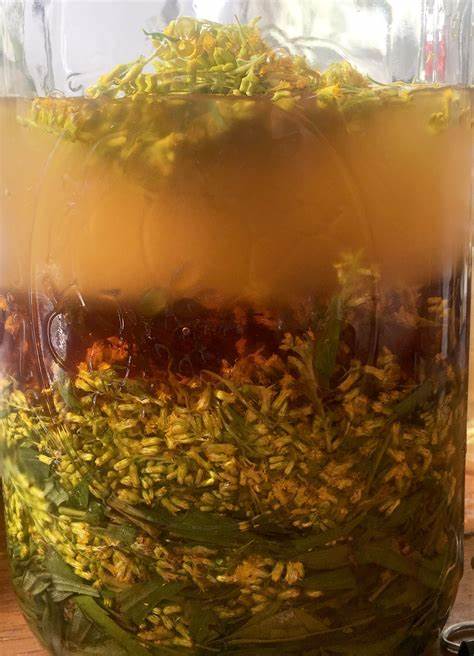
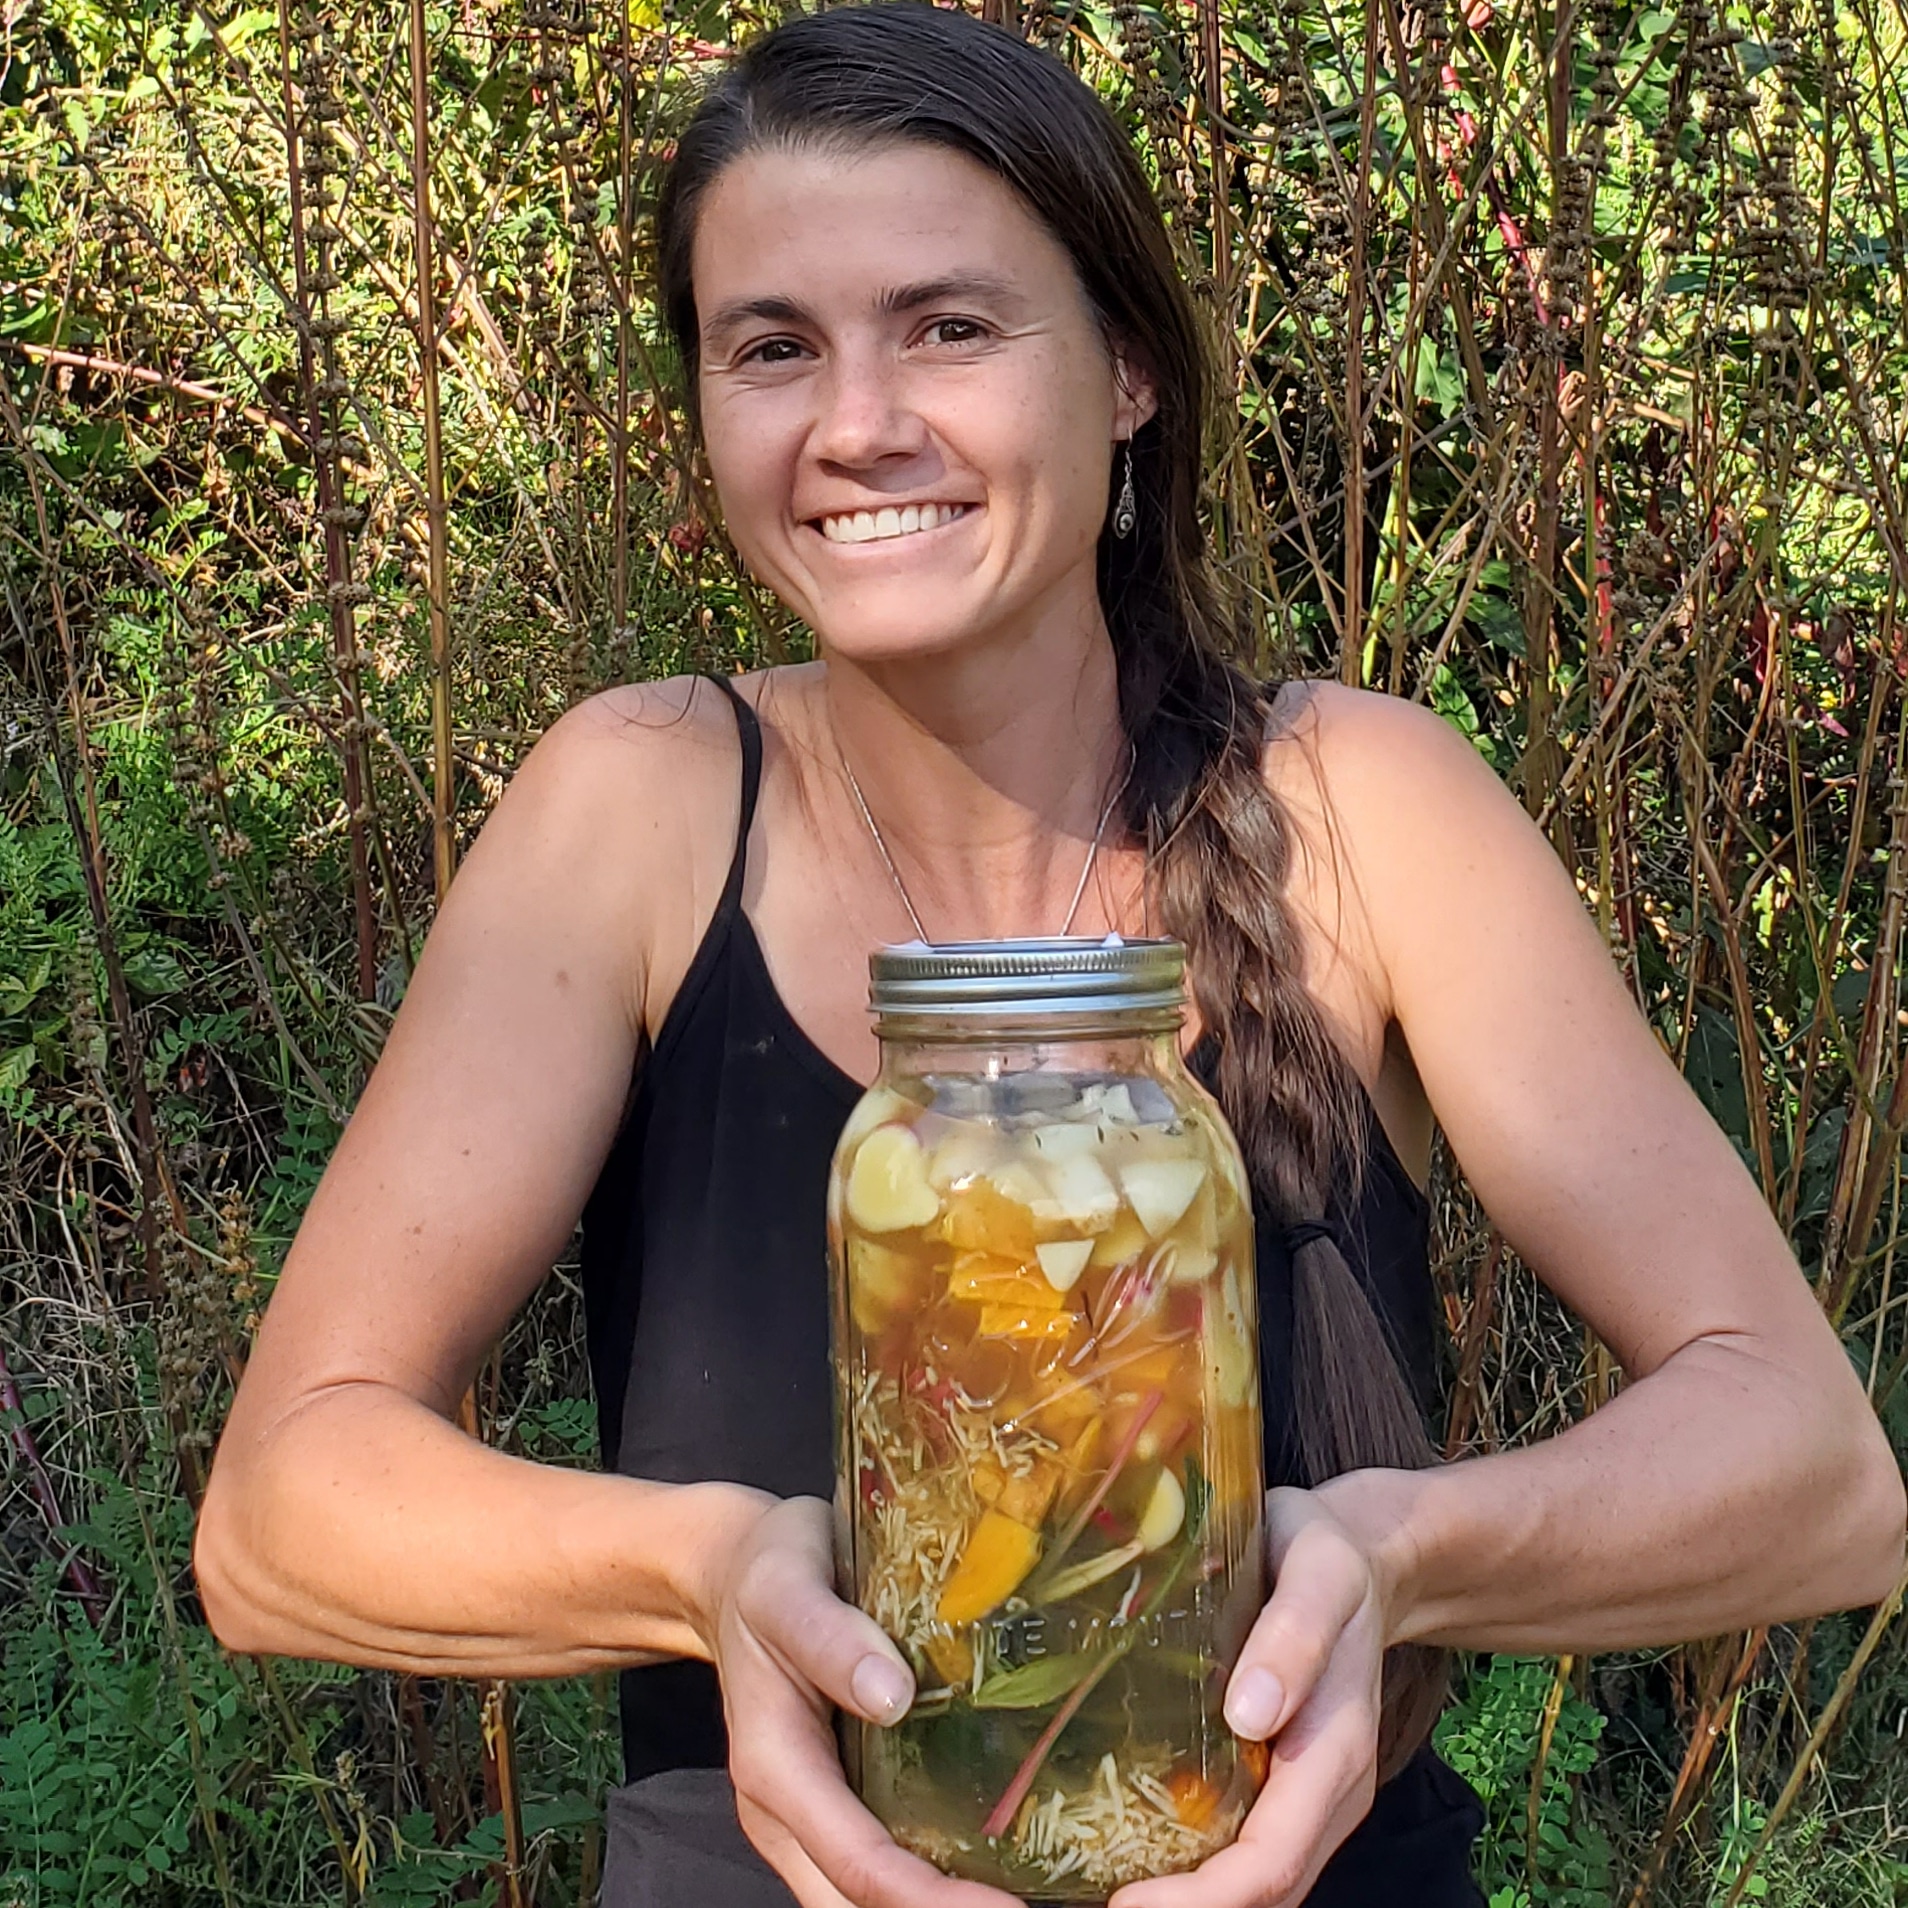
Chop the fresh plant material as small as possible, because the more herb chopped, the more surface area covered during the maceration (or extraction) process. Then fill your Mason jar about ¾ full of freshly chopped herb, and cover ½ way with Raw Apple Cider Vinegar and ½ with Honey.
When using dried plant material, I suggest filling your jar ½ way.
Then, put the cap on it, sit it upright and label your jar. I suggest writing down the following on your label:
- What type of Apple Cider Vinegar and Honey you used.
- Whether you used fresh or dried herb.
- The common name and the Latin name of the plants used
- The date you made the Oxymel.
Let the mixture macerate, shake the jar every day and store it in a cool dark cabinet. Make sure the herbs stay covered with the menstrum, and add more if needed. This is a great time to put good energy into your herbal creation and visualize all the ways it’s going to help you once it’s finally ready.
After 4-6 weeks have passed, you can then press out your Oxymel. To start the pressing process, unscrew your Mason jar, put your muslin or cheesecloth over the top and then flip over the jar above a large bowl to drain out the liquid while separating the herb. Once all the liquid has gone into the bowl, you can then use both your hands to squeeze out any remaining liquid from the herb.
Next, pour that liquid (which is now your Oxymel) into a liquid measuring cup. Place your funnel in the mouth of your dosage bottle and carefully pour your liquid into it. The number of bottles you’ll need to store these Oxymels in will depend on the amount initially created. You can also put the tincture back into the Mason jar until proper storage is found.